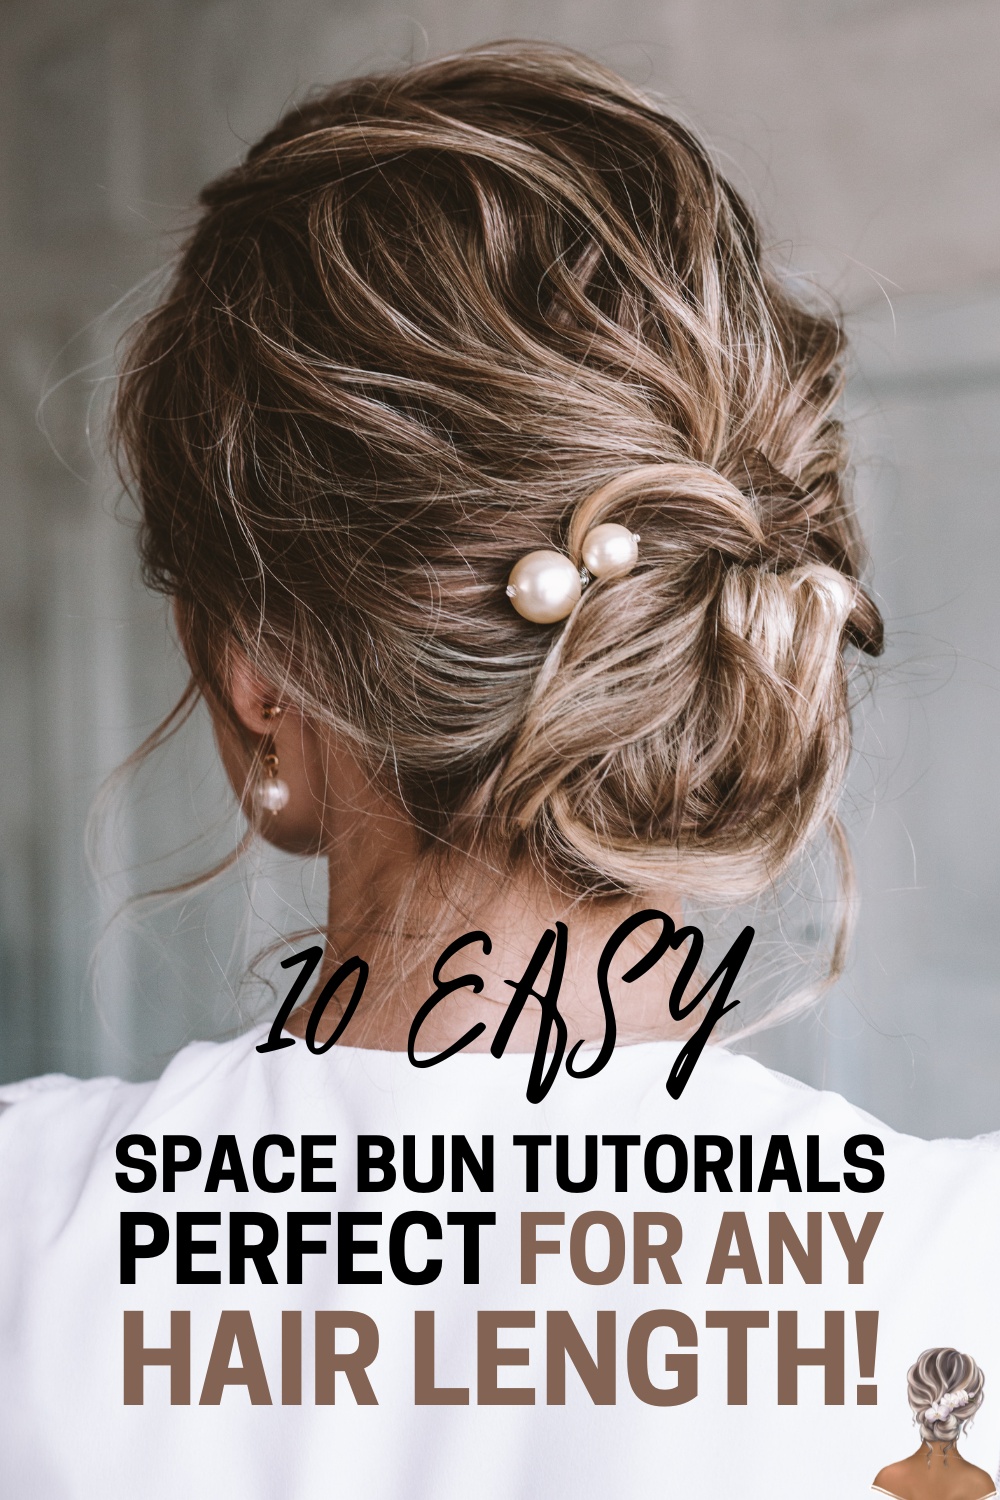
There is a persistent myth that double buns belong exclusively at summer music festivals or on toddlers. In reality, they are one of the most practical ways to get hair out of your face without settling for a standard ponytail. Whether you are trying to secure heavy curls or managing a blunt bob that refuses to stay in a single tie, the right technique makes this style highly functional for a normal Tuesday.
Jump to the 10 space bun styles
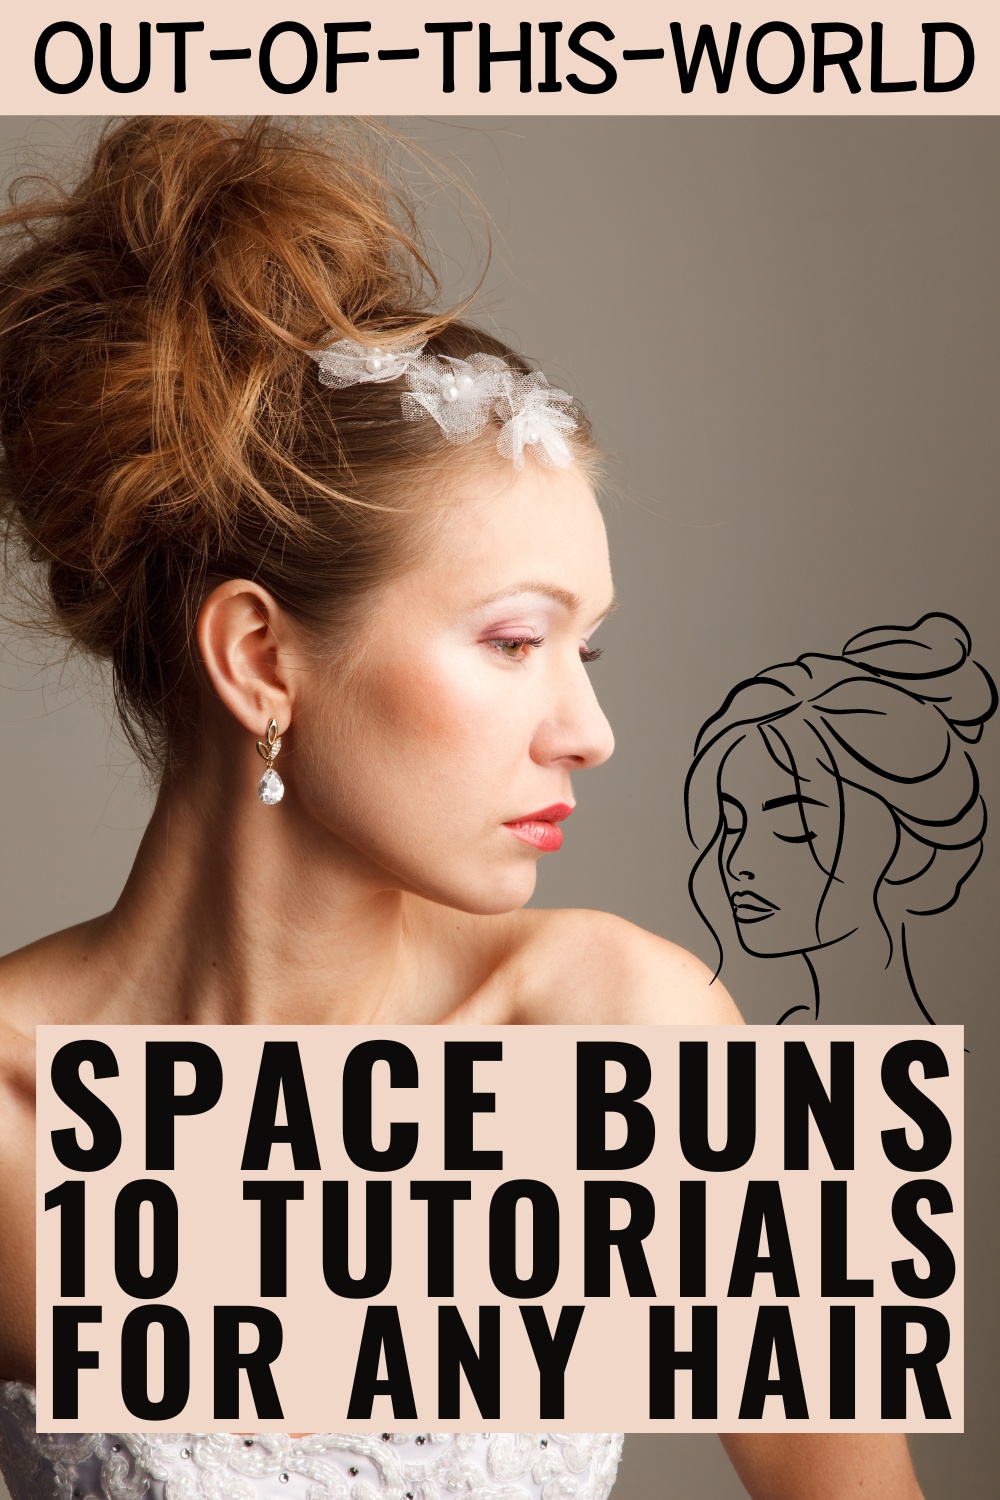
10 Ways to Engineer the Perfect Space Buns
The secret to an updo that lasts is matching the method to your hair type. A technique meant for long, thick hair will slip right out of fine layers. These ten approaches solve the most common styling frustrations.
1. The Short Hair Savior
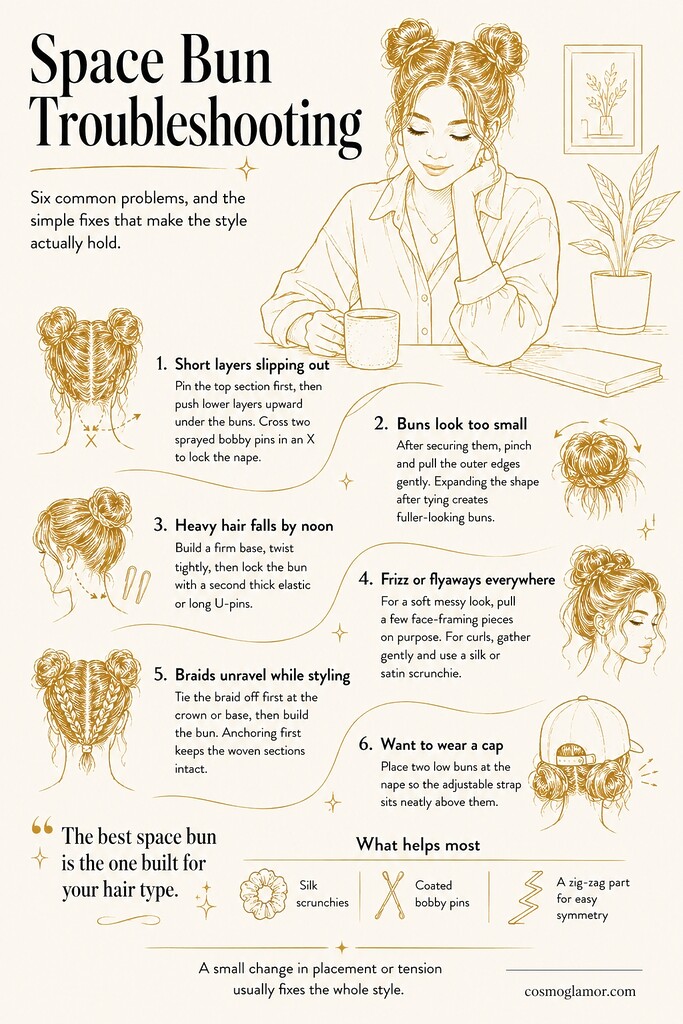
Anyone with a bob or a lob knows the struggle of the bottom layers falling out of a high updo. This tutorial by SweetHearts Hair solves that exact problem. Secure the top section first, then pin the lower layers upward using standard bobby pins. Before sliding the pins in, give them a quick mist of hairspray to add friction. Crisscrossing two coated bobby pins into an X shape creates an interlocking anchor that stops those short, stubborn neck strands from sliding down throughout the day.
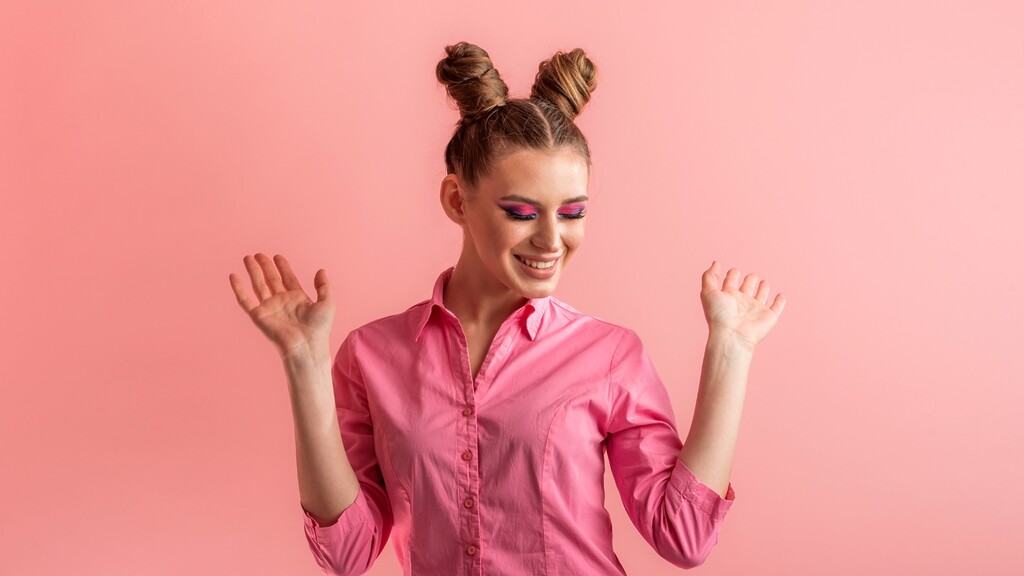
2. The 10-Minute Everyday Look
When you have exactly ten minutes before you need to be out the door, precision is not the goal. Allie Liliokalani demonstrates a highly relaxed approach for short to medium hair that skips the heat tools entirely. Tie two high pigtails first, then loosely twist and wrap each one around its base. Sliding a second elastic directly over the finished wrap holds it securely while giving the bun a slightly undone, effortless texture that forgives uneven ends.
3. The Universal Pull-Through
If you want your buns to look fuller than your ponytail suggests they should, Abby Hoskins has the right technique. This method works on shoulder-length cuts all the way down to waist-length hair. After tying and pinning the buns into place, pinch and pull the outer edges of the hair outward to expand their perimeter. Expanding the hair after it is tied creates the illusion of massive volume without needing texturizing sprays or teasing combs.
4. The Heavy Hair Anchor
Thick, heavy hair is notorious for dragging updos down by noon, causing localized scalp headaches along the way. Mo Styles tackles this by building a rigid foundation. Instead of just wrapping the hair, secure the base with a heavy-duty elastic before twisting the length tightly around it. Lock the heavy twist in place by sliding a second thick elastic completely over the entire bun, or use long U-shaped French pins to anchor the weight deeply against the scalp. Standard bobby pins will just bend and pop out under the tension.
5. Half-Up Half-Down Space Buns
Sometimes you want to keep your hair out of your eyes while still showing off your length. This trendy half-up approach is the perfect middle ground. Section off only the hair from the top of the ears upward to form the buns, securing them with small clear polybands so the ties vanish into your roots. Leaving the lower half completely loose frames the neck and shoulders beautifully, making it a highly flattering option for medium to extra-long hair.
6. The 5-Minute Messy Look
A perfectly slicked-back style requires a lot of product and patience. Cassie Scroggins teaches a messy bun technique that actually leans into your hair's natural texture and flyaways. The trick is to intentionally pull a few thin pieces of hair loose around your temples and in front of your ears before you secure the final tie. Those loose pieces soften the sharp lines of the part and make the messy texture look deliberate rather than rushed.
7. Natural Curls & Coils
Curly hair requires a completely different handling method to avoid disrupting the curl pattern. Cici Michele shares a brilliant guide for natural textures, focusing on protection and volume. Use a wide-tooth comb to gather the top section, and wrap a silk or satin scrunchie loosely around the base. Silk prevents the friction that causes frizz, and keeping the wrap loose allows your natural volume to act as the statement piece of the style without flattening the coils.
Space buns are an engineering solution disguised as a trend.
8. Upside-Down Braided Buns
If you have some extra time and want a style that looks professionally done, adding an upside-down Dutch braid is highly effective. Imogen Fox shows how to braid from the nape of the neck straight up to the crown. Flip your head upside down to keep the braid tight against the scalp as you work upward. Stop at the crown and tie the braid into a tight pigtail with a clear elastic first. Locking the braid down before you build the bun prevents the woven sections from unraveling while you pin the ends.
9. Double Dutch Mini Buns
For a softer, romantic take on the look, Missy Sue blends top braids with low buns. Instead of braiding upward, you Dutch braid the front sections of your hair downward toward the back of your ears. Tie off the braids at the base of your skull and wrap the remaining tails tightly into small buns using bobby pins to secure the ends. This keeps hair completely flat against the top of the head, making it highly practical for windy days.
10. The Baseball Cap Hack
Spending a sunny afternoon outdoors usually means choosing between sun protection and a cute updo. Torie Bliss completely solves this with a brilliant hat hack. Part your hair cleanly down the middle and secure two low buns exactly at the nape of your neck. Positioning them low allows the back adjustable strap of a standard baseball cap to sit comfortably right above the buns without any awkward bulging or pressure points on your scalp.
Common Styling Questions
Do tight buns cause hair breakage?
They certainly can if you rely on rubber bands or metal-clasped ties. To prevent snapping your strands, swap standard elastics for thick silk scrunchies or coiled plastic phone-cord ties. Coiled ties distribute the tension across a wider area of the hair shaft, which stops the band from slicing into the cuticle when you pull it tight.
How do I hide an uneven part in the back?
A perfectly straight part down the back of your head is nearly impossible to do by yourself. Instead of fighting it, use the tail end of a comb to draw a zig-zag line down the back of your head. A zig-zag part intentionally blurs the line, making small mistakes invisible while adding a fun detail to the back of the style.
Finding a hairstyle that holds up to a busy schedule usually means compromising on how it looks. Taking five extra minutes to anchor your pins, loosen the front pieces, or adjust the placement to fit your day makes all the difference in a style you will actually wear again.