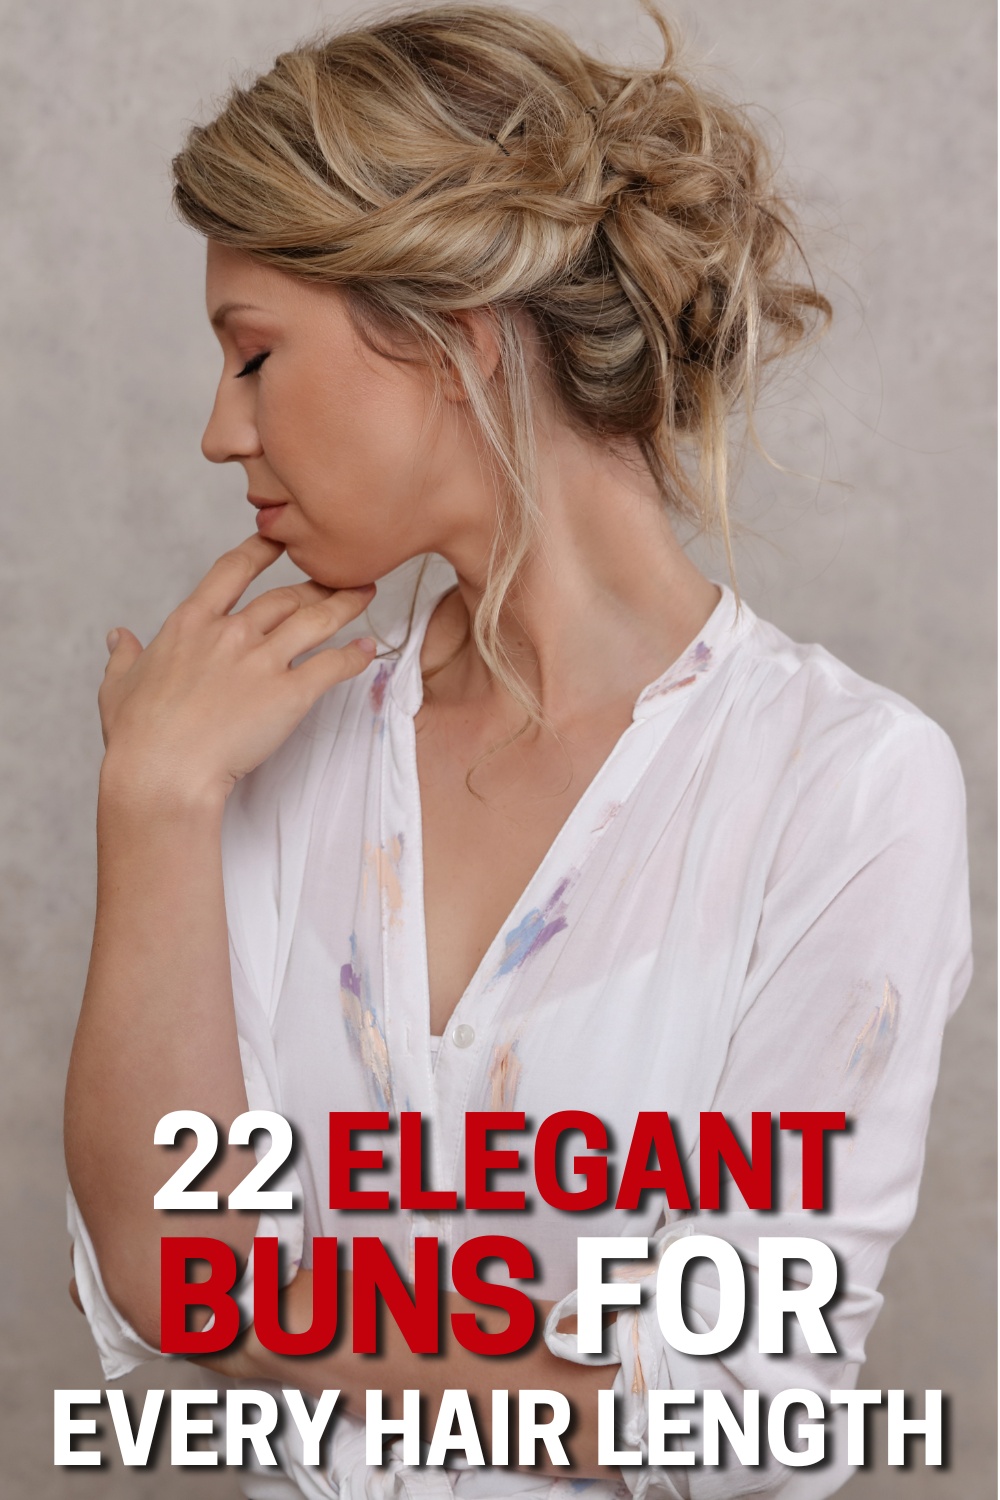

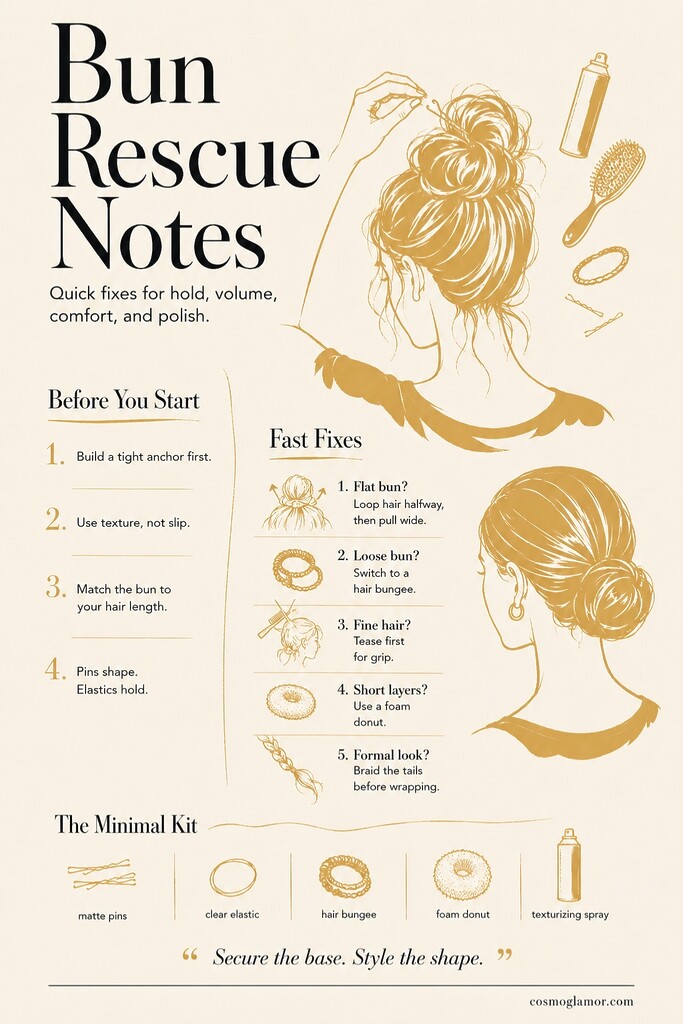
Most of us throw our hair up out of frustration, not strategy. But the difference between a messy bun that looks like a happy accident and one that falls flat within an hour comes down to a single physical rule: you have to separate your anchor from your shape.
If you rely on a single elastic to hold the weight of your hair and dictate the volume at the same time, the style will sag. You need a secure, tight base. Once that anchor is locked, the ends are free to loop, stretch, and pin into whatever shape the day requires. Here are 22 easy bun updos built on that exact principle, broken down by how much time you have and where you need to be.
The Casual Scrape: Messy Bun Hairstyles
The weekend bun should never look like you tried hard. The goal here is controlled chaos. You want loose pieces around the face and visible texture at the crown, but the core of the updo needs enough structural integrity to survive a grocery run.
1. The Fan Spread
Start with a high ponytail, but on the final pass of the elastic, pull the hair only halfway through to create a closed loop. Grab the left and right edges of that loop and pull them outward toward your ears. This horizontal stretch creates instant width and hides the elastic entirely.
2. The Three-Loop Stack
Instead of one large loop, pull the ponytail partly through the tie three separate times as you wrap it. This stacks three small loops on top of each other. It builds vertical volume that won't flop over, which is especially helpful for medium-length hair.
3. The XXL Stretched Loop
Create a standard fan bun, but actively pull at the center of the loop to loosen the tension before pinning. Tucking the loose tail ends back into the base elastic forces the stretched loop to puff outward, creating the illusion of massive volume.
4. The Scrunched Texture
Ditch the brush. Gather your hair with your fingers to keep the natural bumps at the root. Twist the length of the ponytail loosely, coil it around the base, and pin just the outer edges of the coil so the center stays raised and textured.
5. The High Messy Anchor
Backcomb the actual ponytail before wrapping it. Teasing the hair gives the strands physical grip against each other, meaning you need fewer pins to hold the messy shape in place.
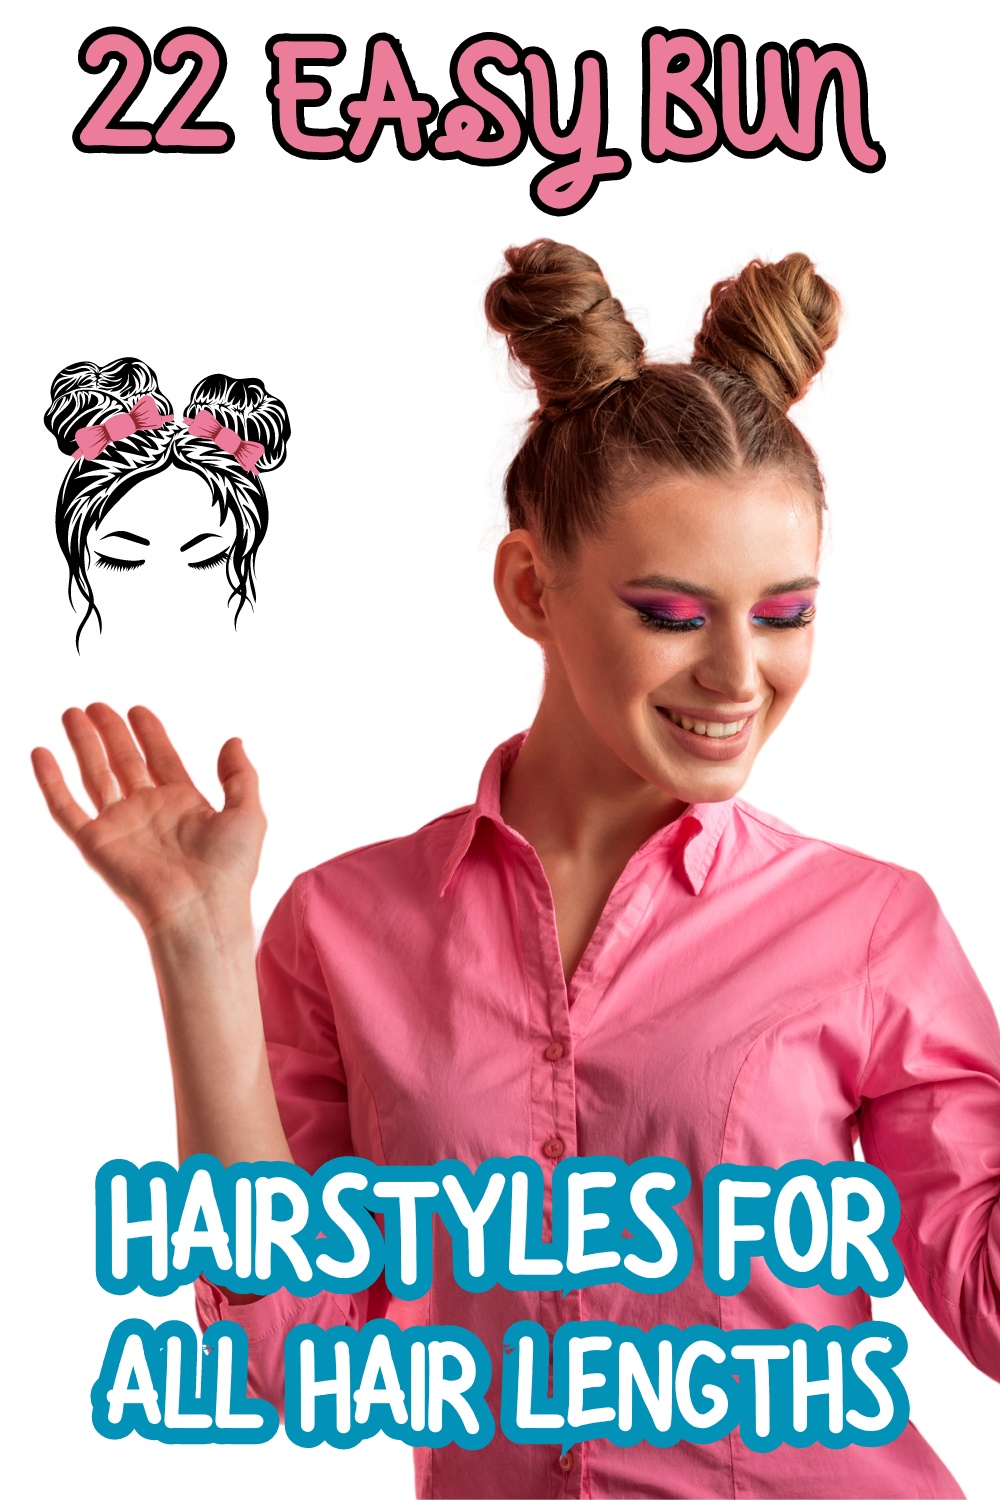
6. Playful Double Knots
Part your hair directly down the middle for two high pigtails. Wrap each into a messy knot. Leaving the front baby hairs completely out softens the severe center part and makes space buns look wearable rather than costumey.
Low-Effort Polish: Low Bun Hairstyles
A low bun communicates quiet competence. It sits neatly at the nape of the neck, making it the perfect choice for the office, a brunch date, or days when you simply need your hair contained without tension pulling at your scalp.
7. The Twisted Hook
Tie a low ponytail. Place a second clear elastic about three inches further down the tail. Split the hair between the two elastics in half, creating a gap, and flip the tail up and through that gap. Roll the remaining tail upward and hook it over the top elastic for a complex-looking woven shape.
8. The Braided Low Knot
Braid your low ponytail loosely and tie it off. Tie the braided length into a literal, physical knot at the base of your neck. The braided texture locks the knot in place, requiring almost no pins to stay secure.
9. The Stretched Loop Low Drop
Tie a low pony, looping the hair halfway through on the last wrap. Pinch and pull the loop downward instead of outward so it hangs softly at the nape. Wrap the remaining tail around the base to hide the tie.
10. The Simple Twisted Wrap
Divide the low ponytail into two even sections. Twist both sections tightly, then wrap them around each other to form a rope braid. Coil this rope around the base. The dual tension of the twists prevents the bun from unraveling.
11. The Sleek Rope Twist
Start by smoothing the crown with a gel and oil mixture. Brush the hair into a tight low base using a boar-bristle brush to eliminate bumps. Split the tail, twist tightly, coil it flat against the head, and finish with a shine spray. The wet-look prep is what elevates this from a gym bun to evening wear.
Cheating the Length: Buns for Short and Fine Hair
Fine hair slips. Short hair drops. If you fall into either category, traditional looping methods will likely leave you with a sad, golf-ball-sized knot or strands falling out the back. The strategy here changes: you have to build artificial structure.
12. The Samurai Top Knot
Short layers cannot physically reach the top of your head. Work in zones. Section just the top half of your hair from ear to ear and form a bun at the crown. Leave the bottom half down, or twist small sections of the nape hair upward and pin them aggressively.
13. The Dutch-Braided Base
If your lower layers keep falling down, braid them up. Flip your head over, Dutch braid from the nape of your neck up toward the crown, and tie it off. Add the top hair into that tie, then form your bun. The braid acts as an anchor for the short pieces.
14. The DIY Double Sock Anchor
Shorter hair needs a physical form to wrap around. Use a small foam donut or a rolled sock at the base of your ponytail. Spread the short layers evenly over the foam and secure them with a clear elastic. It immediately triples the visual size of the bun.
15. The Hairspray Grit Tease
Fine hair needs manufactured friction. Spray a texturizing spray or lightweight hairspray directly into the roots and lengths before you even pick up an elastic. Tease the entire ponytail with a comb so the hair physically resists slipping out of the loops.
16. The Half-Up Volume Cheat
Take only the front quadrant of your hair (bangs and crown) and loop it into a tiny bun. Gently push the bun forward before pinning it to create a faux volume bump at the hairline. This draws the eye upward, making fine hair look intentionally styled rather than flat.
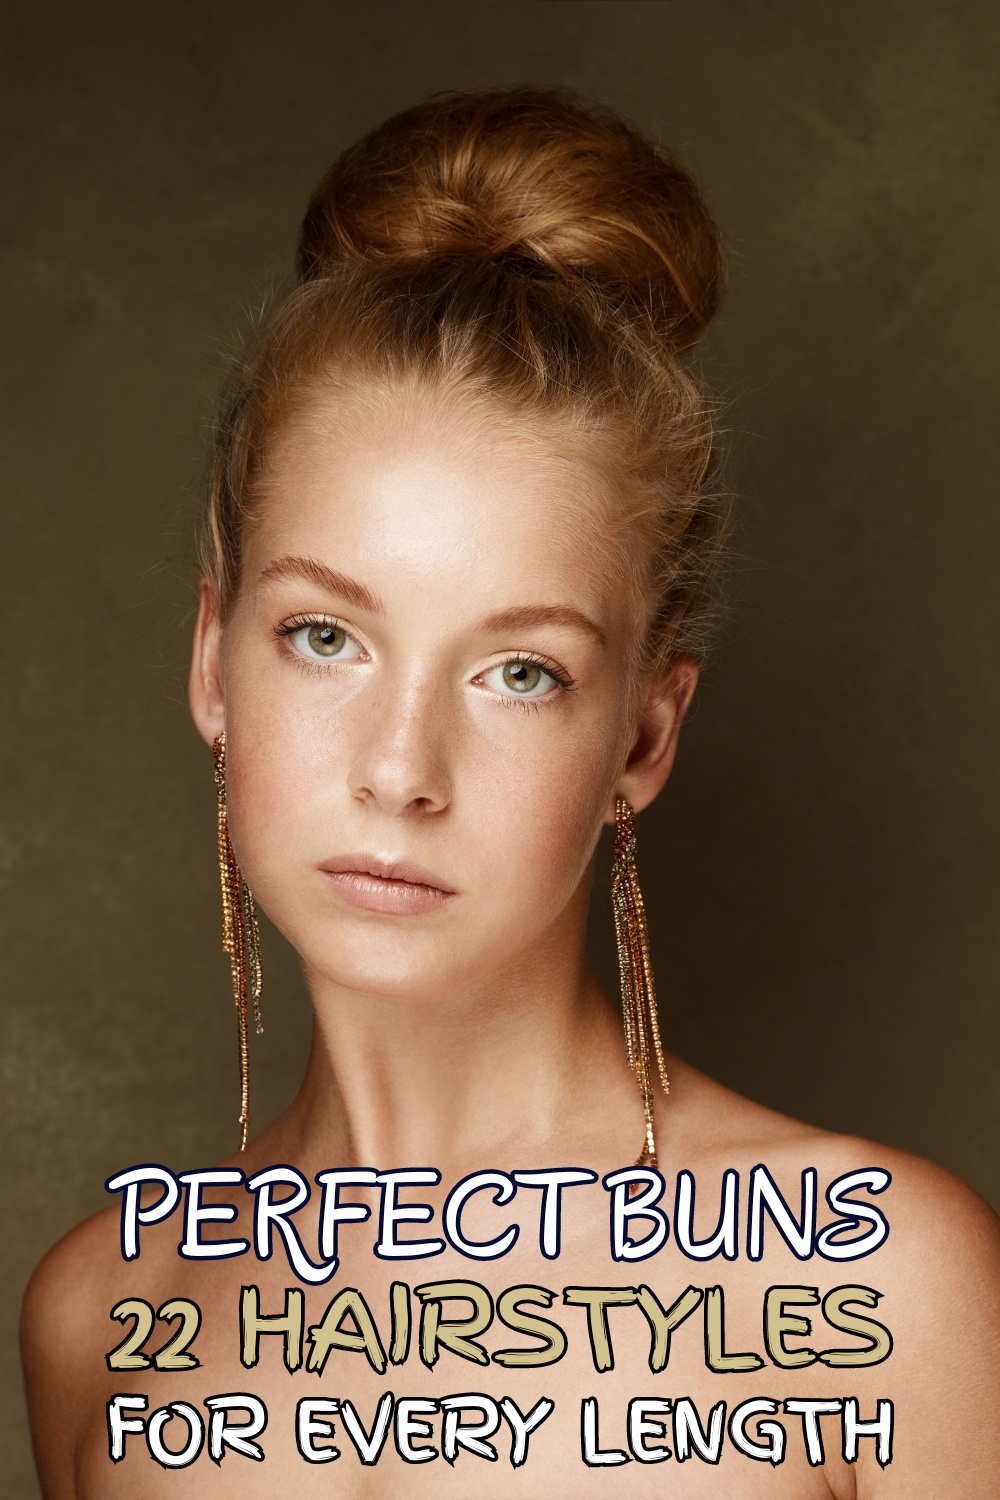
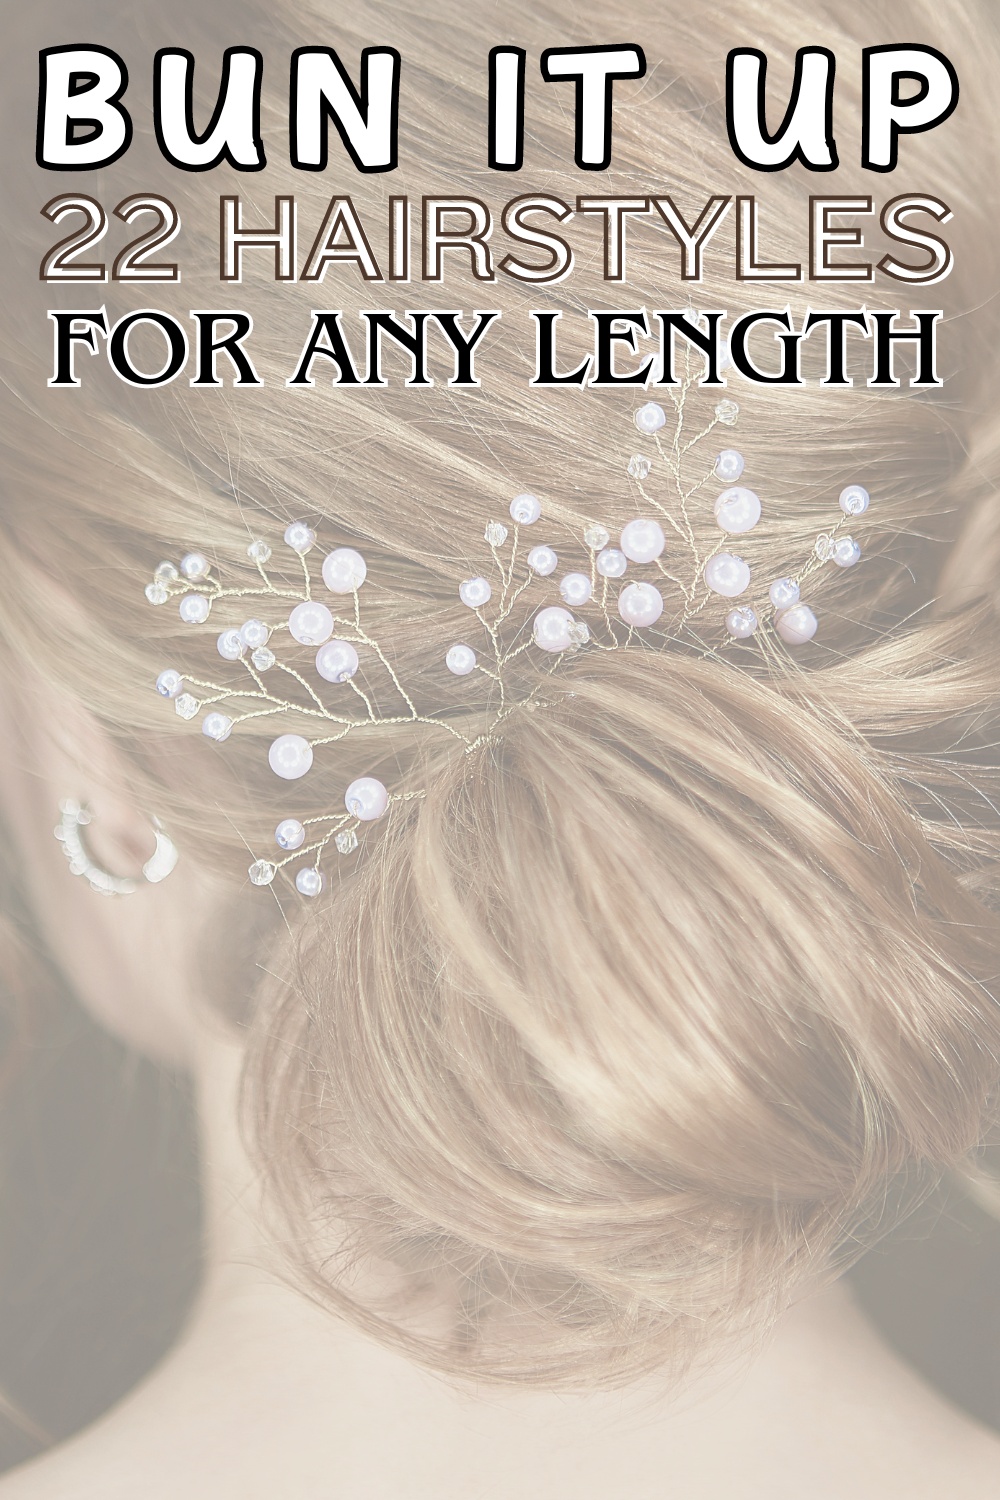
Structured Elegance: Updos for Events
When the occasion demands more than a basic loop, you need techniques that look intricate but rely on simple geometry. These updos incorporate flips, braids, and padding to create formal, camera-ready shapes.
17. The Two-Minute Rolled Chignon
Tie a low ponytail, leaving the front framing pieces loose. Create a gap above the elastic and flip the tail through (a classic topsy-tail). Tease the hanging tail, roll it upward like a scroll, and tuck it entirely inside the gap you created. Pin it securely from underneath.
18. The Braided Low Chignon
Braid two small sections at the temples. Pull them back to meet at the nape, tying them together with the rest of the hair. Roll the entire bulk upward into a low, horizontal cylinder. The temple braids add a romantic, sweeping frame that breaks up the severity of a pulled-back style.
19. The Seamless Donut
Place a foam donut at the base. Spread the ponytail evenly over the top so the foam vanishes. Instead of wrapping the long tails around the base in a messy clump, braid the remaining tails and wrap those braids around the base. It finishes the look cleanly for formal events.
20. The Decorative Pinwheel
Using the donut base, pull small, half-inch sections of hair over the foam one at a time. Twist each section slightly before pinning it under the donut. Repeating this around the circle creates a spiraled, pinwheel texture that looks incredibly complex but just requires patience.
21. The Protective Marley Wrap
For short 4C hair, moisturize thoroughly and brush the natural hair into a tight, gelled base. Anchor a bundle of Marley hair at the center of your natural bun. Split the extension hair in two, twist it tightly, and wrap it around your natural base. It provides immense sleek volume while protecting your actual ends.
22. The Retro Bardot Crown
Leave heavy face-framing pieces out. Gather the crown section, tease it heavily underneath for height, and secure it into a mid-height bun. The volume at the crown balances the profile, giving a distinct 1960s silhouette that works beautifully for formal dinners.
The secret to an effortless updo is separating the anchor from the shape. The elastic does the holding; the pins do the styling.
FAQ: Making the Updo Last
Why does my bun give me a headache after two hours?
You are likely gathering the hair and twisting the entire mass simultaneously. This pulls on individual scalp hairs unevenly. Always secure a flat ponytail with an elastic first. The elastic distributes the weight evenly across your scalp, allowing you to twist and pin the remaining hair without pulling at the root.
Why do my bobby pins slide right out?
You might be inserting them upside down or opening them too wide. The wavy side of the bobby pin should face down toward your scalp; the ridges grip the hair. Furthermore, do not pry them apart before sliding them in. Push them straight into the bun; the tension of the closed metal is what actually holds the style.
How do I stop heavy hair from sagging by noon?
Skip standard hair ties and use a hair bungee (a single piece of elastic with hooks on both ends). You hook one side into the gathered hair, wrap the elastic tightly around the base, and hook the other end. It allows you to create a brutally tight anchor on heavy, thick hair without having to drag the length through a shrinking loop.
Keep a few matte bobby pins at the bottom of your bag, find the tight anchor that works for your specific texture, and let the rest of the shape do whatever it wants.