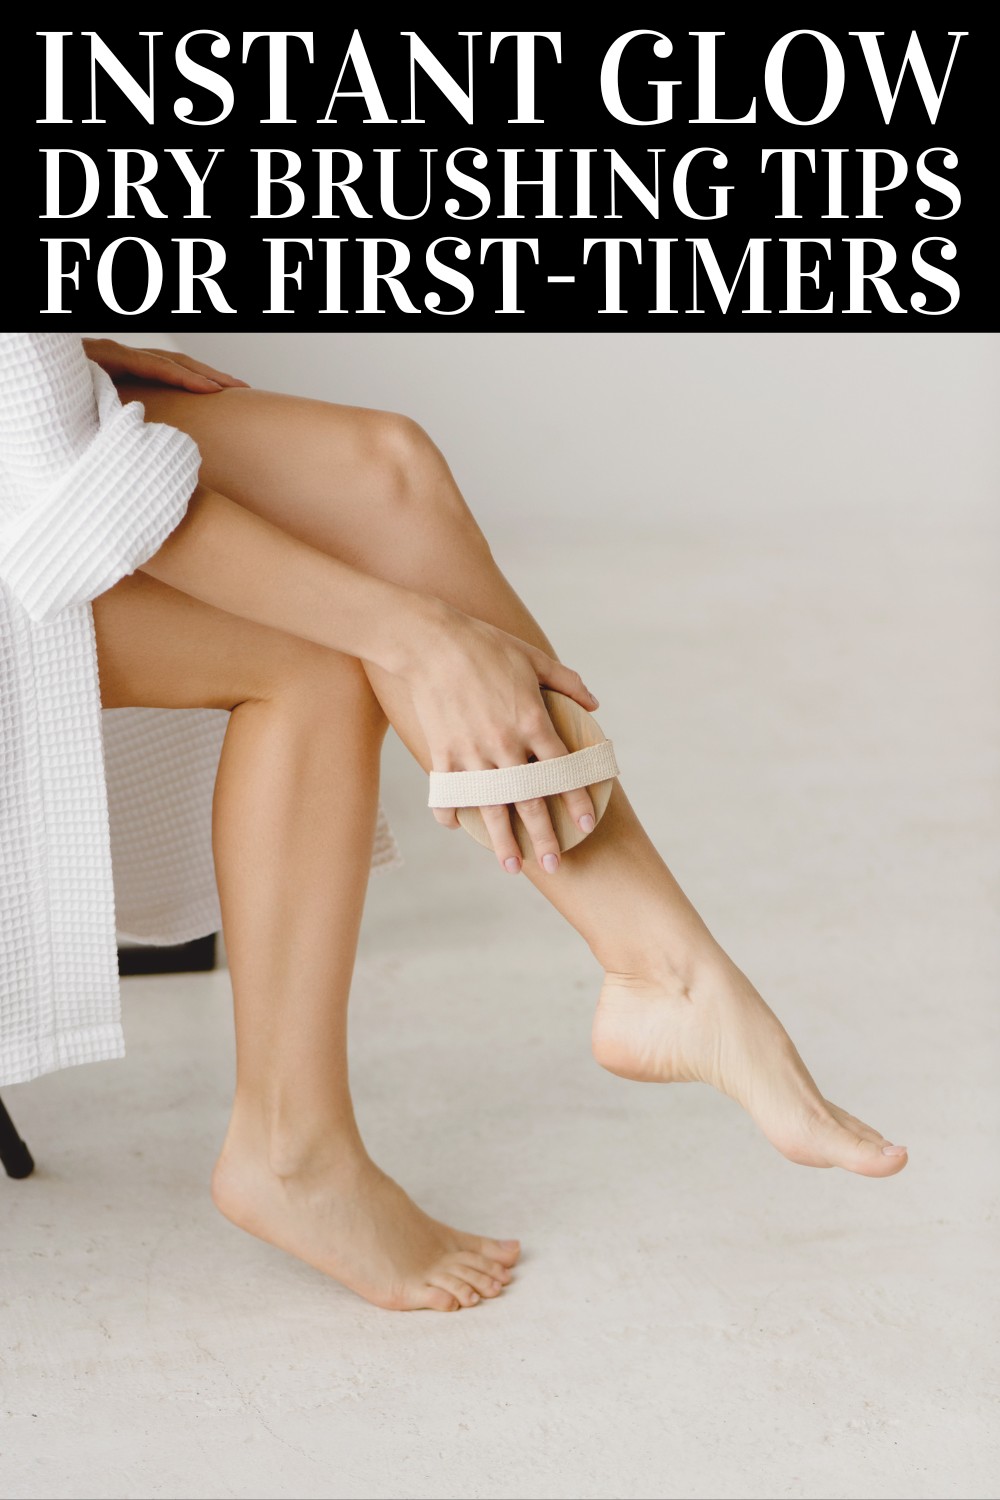
Most skincare routines ask for more of your time, more of your money, or both. Dry brushing just asks for three minutes before your morning shower. It is the cheapest and fastest way to wake up dull skin without adding another expensive bottle to your bathroom counter.
The Grounded Truth About Dry Brushing Benefits
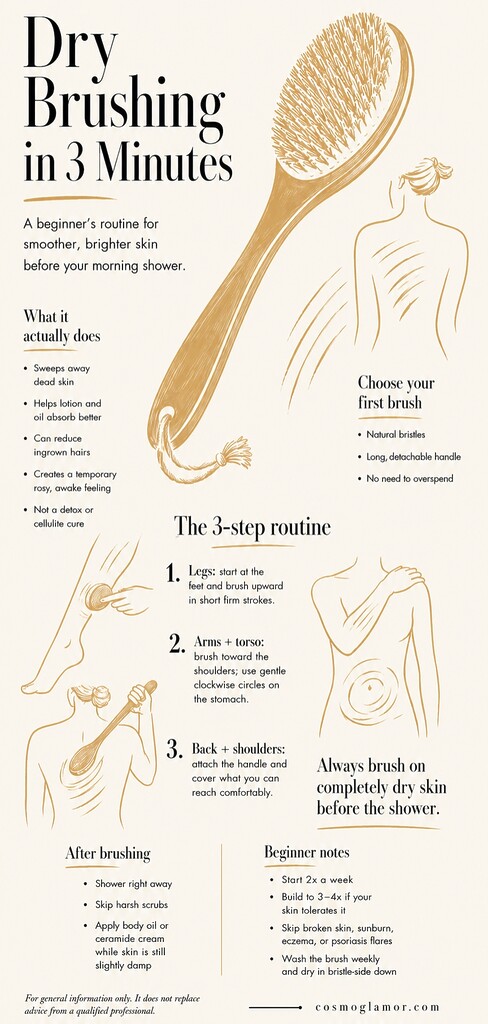
The wellness industry has a habit of taking a perfectly good habit and making impossible promises about it. You have probably seen claims that a wooden brush will permanently erase cellulite or detoxify your liver. Those claims fall apart under scrutiny, but the actual dry brushing benefits are still worth your time.
At its core, this practice is highly efficient mechanical exfoliation. A firm brush physically sweeps away the outer layer of dead skin cells that trap oil and make your legs look ashy. Doing this regularly prevents ingrown hairs and leaves a smooth canvas that absorbs your body lotion much better than un-exfoliated skin.
The light pressure also stimulates circulation just below the surface. That is what causes the temporary rosy flush and the tight, awake feeling you get immediately after a session. It is a brilliant way to shake off grogginess on a Tuesday morning, even if it won't change your cellular structure.
Choosing Your First Brush (Don't Overspend)
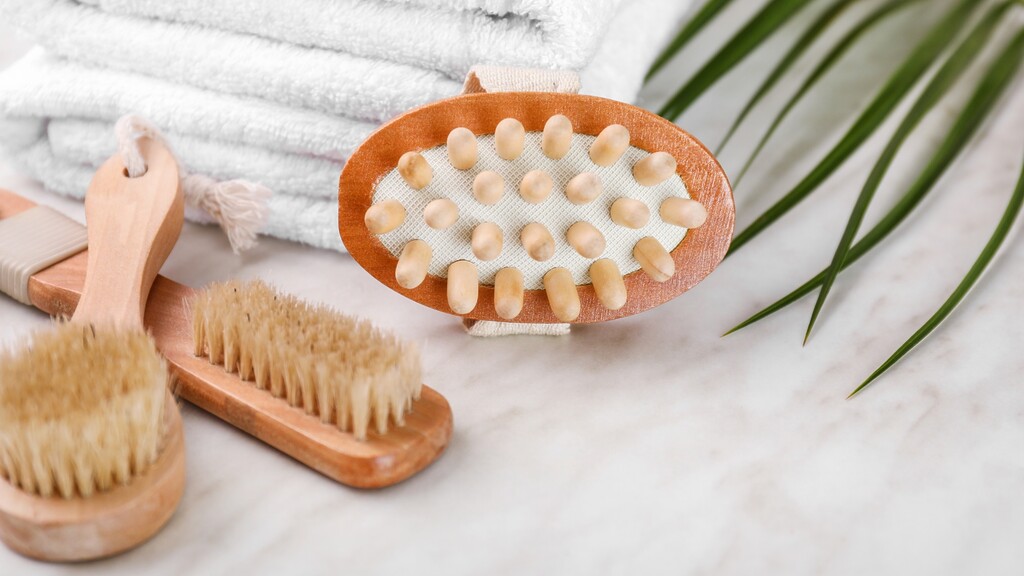
You can easily find boutique brushes selling for fifty dollars, but spending that much is entirely unnecessary. A ten-dollar brush from a drugstore works exactly the same way.
Look for natural bristles like boar hair, or sisal fiber if you want a plant-based option, rather than synthetic plastic ones. Plastic bristles are often too rigid and can scratch the surface of your skin instead of sweeping it. You also want a brush with a long, detachable handle. You will need that reach to exfoliate the middle of your back without pulling a muscle.
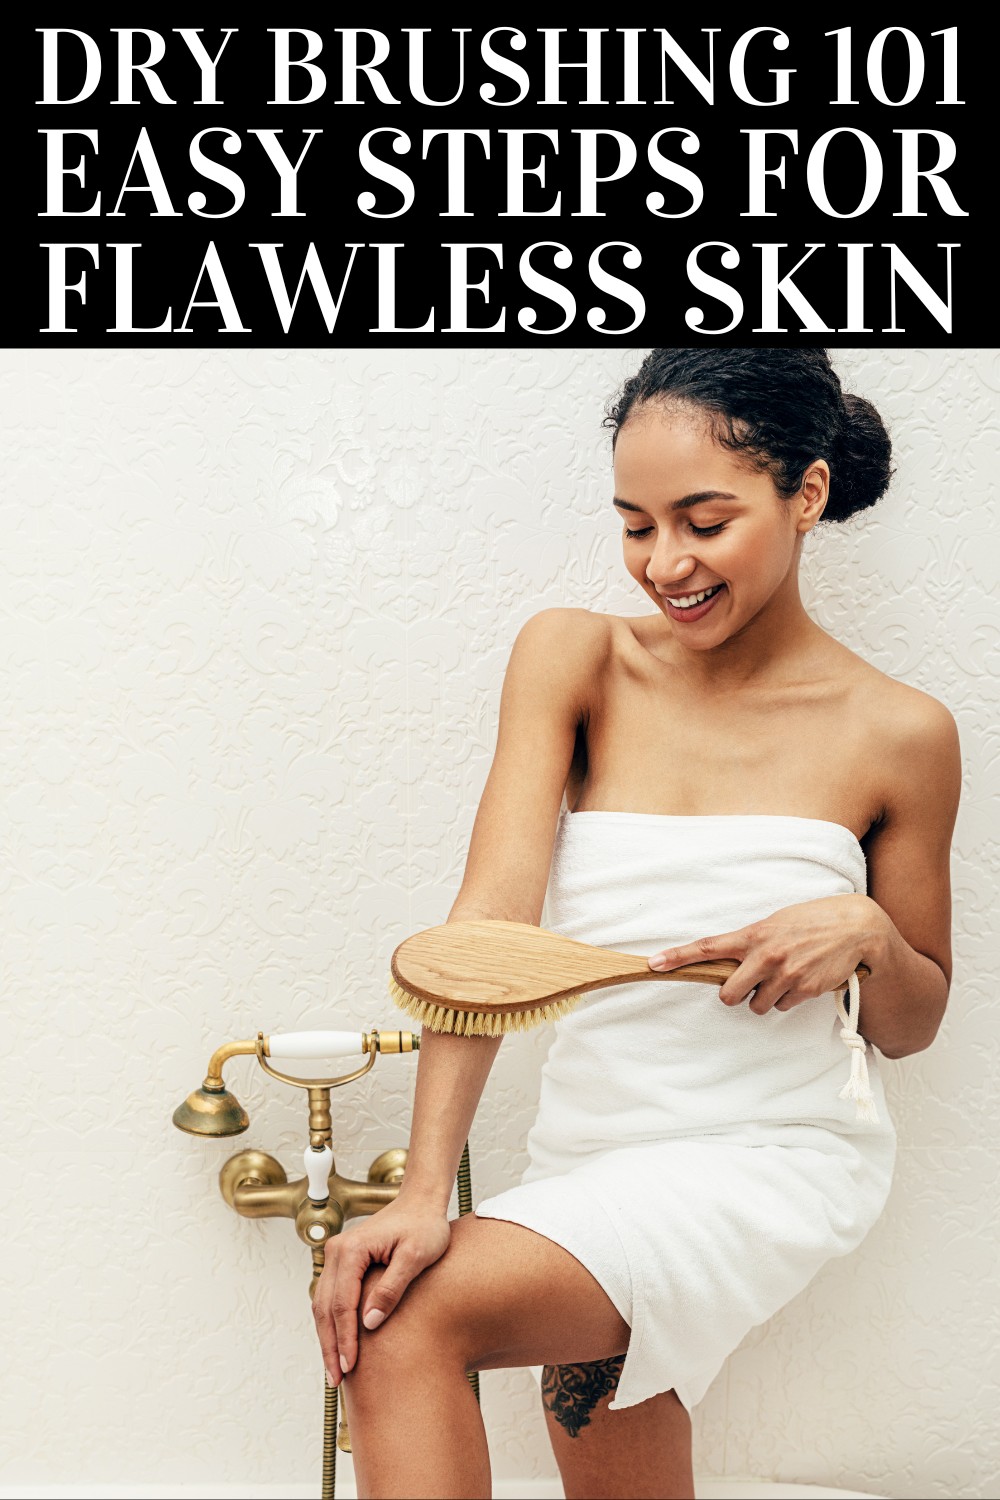
The 3-Minute Dry Brushing Routine for Beginners
The golden rule is in the name. Always brush on completely dry skin before you turn on the shower water. If your skin or the brush is wet, the bristles clump together and lose their exfoliating friction.
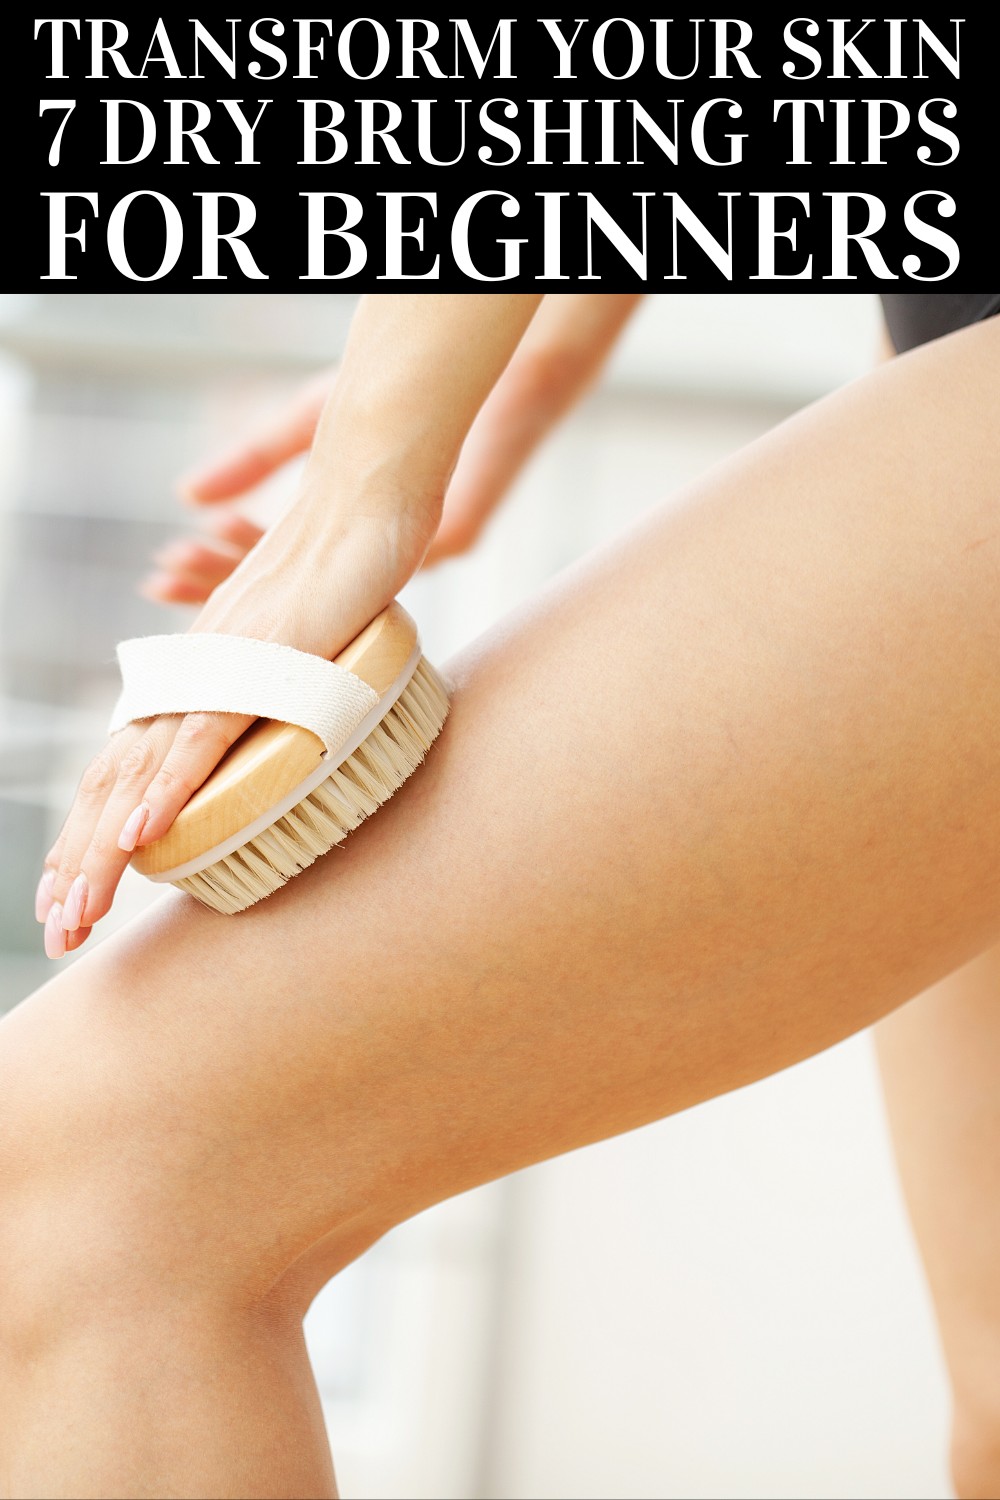
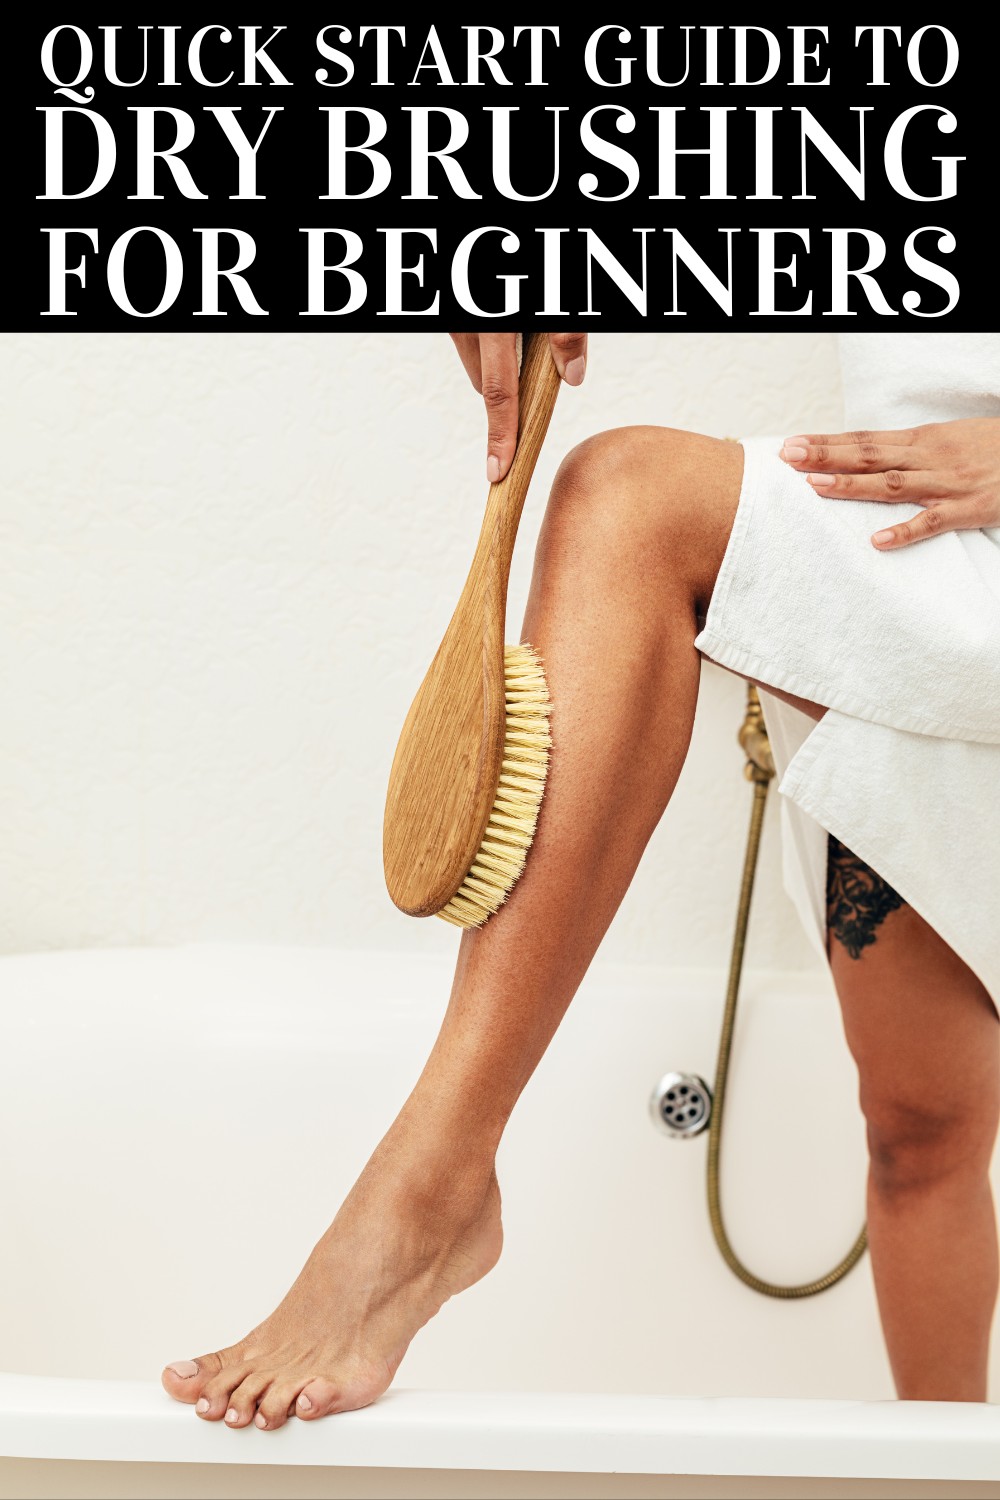
Step 1: The Legs and Lower Body
Start at the tops of your feet and sweep upward using short, relatively firm strokes. Your lymphatic system relies on one-way valves that push fluid toward the center of your chest, so moving in that exact direction supports your body's natural flow.
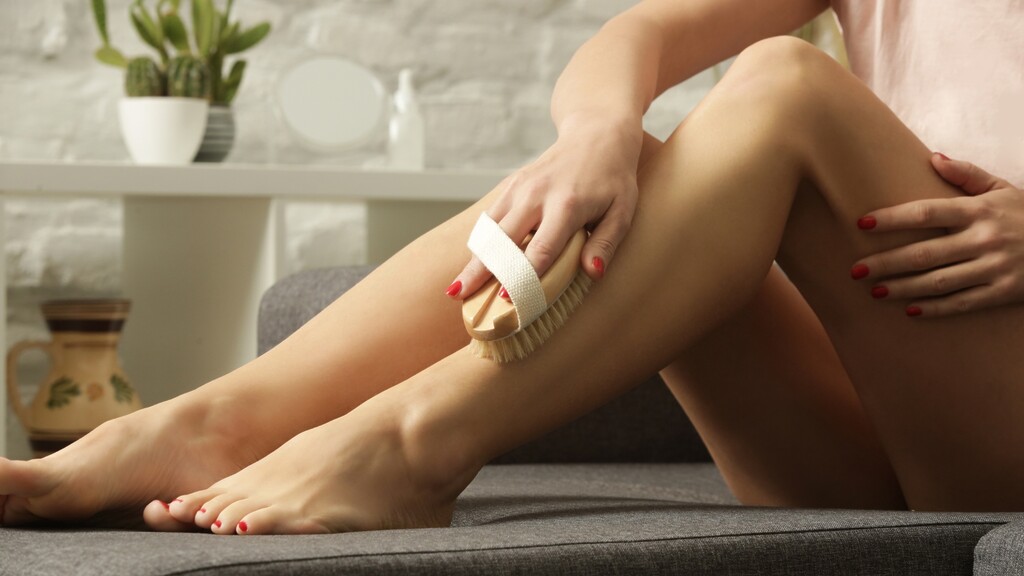
Work your way up your calves, over your knees, and up your thighs. Overlap your strokes slightly so you don't miss any patches. When you reach your glutes and hips, you can switch to wide, circular motions.
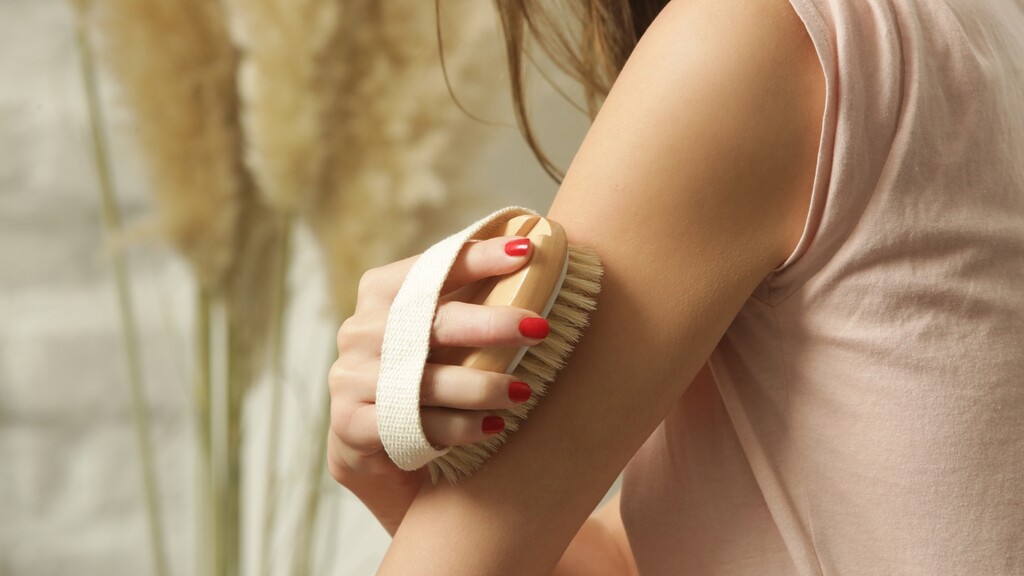
Step 2: The Arms and Torso
Move to your hands next. Brush up your forearms, past your elbows, and up to your shoulders. When you brush your armpits, use a lighter touch since the skin there is significantly thinner.
For your stomach and chest, lower your pressure again. Use gentle, clockwise circles across your midsection. Your digestive tract moves in a clockwise direction, and matching that path feels much more comfortable than brushing against it.
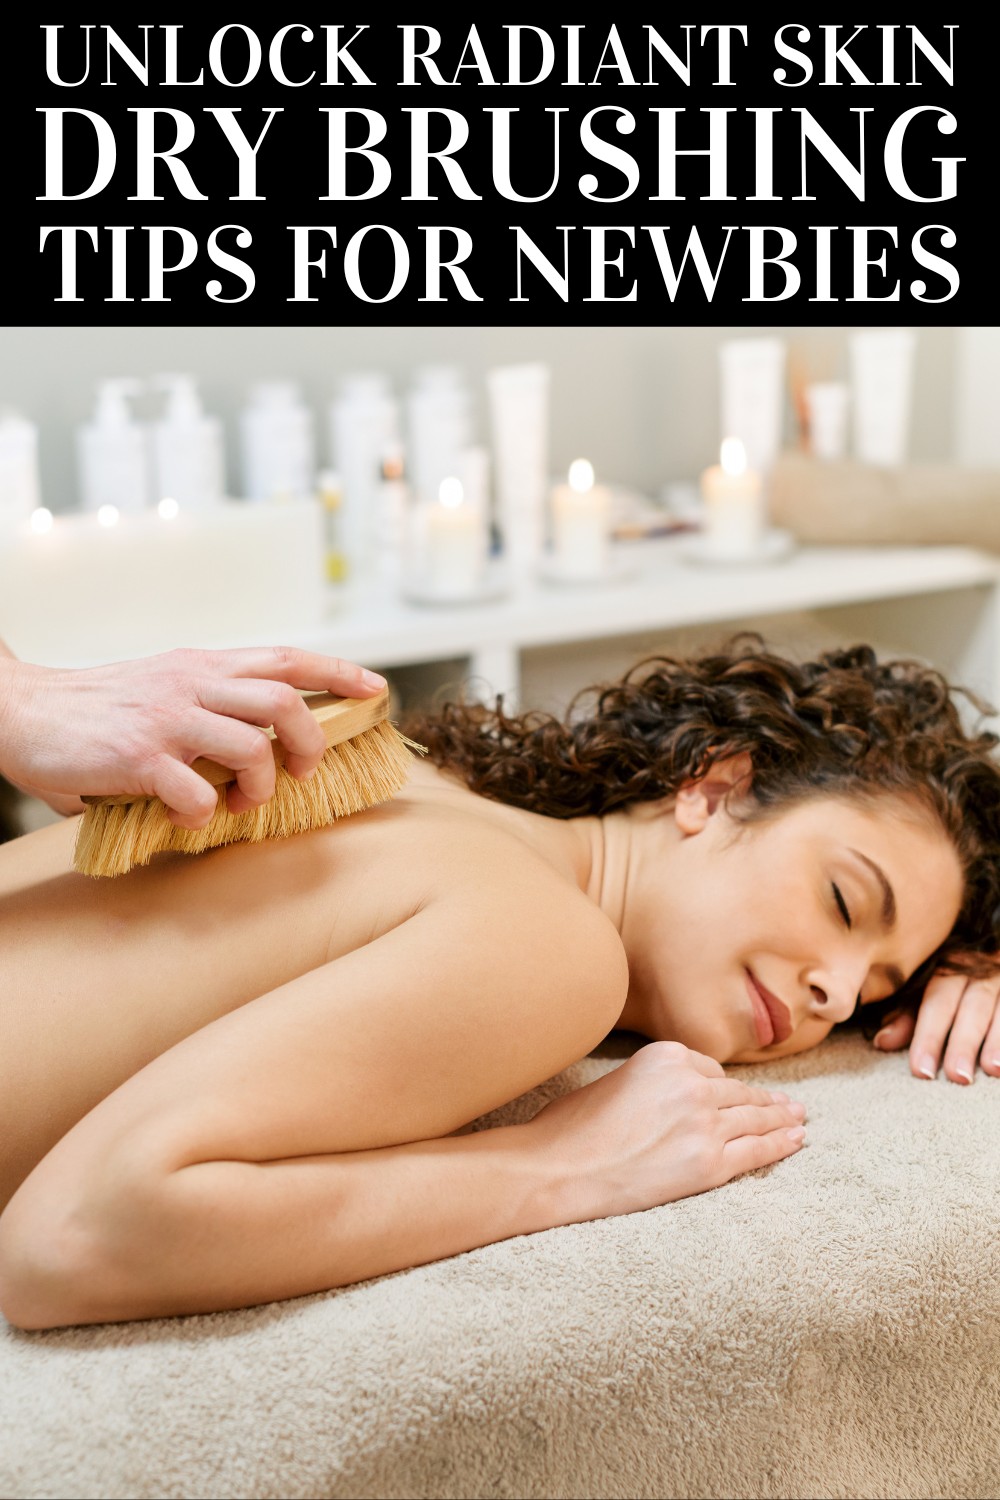
Step 3: The Back and Shoulders
Attach the long handle to your brush. Reach over your shoulders to sweep down your upper back, and reach around your sides to brush upward from your lower back. Just cover whatever surface area you can comfortably reach without straining.
The Shower and Hydration Step
Once you finish brushing, step immediately into the shower. Wash with a gentle, non-foaming cleanser to rinse away the loosened skin cells. Avoid using harsh physical scrubs in the water. Your skin has already been thoroughly exfoliated, and doubling up will only cause irritation.
Exfoliating without locking in moisture immediately after is just controlled damage to your skin barrier.
When you get out, pat your skin dry with a towel. Apply a rich body oil or a heavy ceramide cream while your skin is still slightly damp. The dampness helps trap water under the lipid layer of your lotion, which is the actual secret to achieving dry brushing for glowing skin.
Quick Beginner FAQs
How much pressure should I use?
Think of it like sweeping a hardwood floor, not scrubbing a dirty pot. You want enough pressure to feel the friction, but it should never hurt or leave bright red scratches. A light pink flush is exactly what you are aiming for.
When should I absolutely skip dry brushing?
Never brush over broken skin, sunburns, or active eczema and psoriasis flares. Mechanical exfoliation will only aggravate the inflammation and delay healing. If you just have a small localized scrape, simply brush around it.
How often should I dry brush?
Start with two days a week to see how your skin reacts. If your skin tolerates it well, you can bump it up to three or four times a week. Doing it every single day often leads to a compromised barrier, especially in the dry winter months.
How do I clean my brush?
Once a week, wash the bristles with baby shampoo or a gentle face wash. Swirl the bristles in warm soapy water, rinse them clean, and lay the brush bristle-side down on a dry towel. Make sure it dries completely before your next session so the wood doesn't warp.
You don't need a complicated tracking app or an expensive spa membership to take better care of your skin. Grab a cheap brush, set aside three minutes before you shower tomorrow morning, and see how your skin feels by the weekend.